

Why Drawing Butterflies Helps Kids Learn Art and Observation Skills
Kids adore butterflies and find it fascinating to watch them flap their wings and move about. Most parents find it difficult to teach their children how to draw a butterfly. To assist you, we've created a step-by-step lesson on how to teach your child to draw a butterfly in simple methods. Butterflies make excellent sketching or painting subjects because their wings follow a pattern that can be sketched with a few simple steps. You can draw a butterfly without any particular sketching abilities once you understand the basics of drawing it.
In this lesson, we'll teach you how to draw a monarch butterfly from scratch, step by step. You may adapt this technique to draw any other butterfly.
The most difficult aspect of drawing a butterfly is making its wings symmetrical or equal on both sides. We'll sketch both wings together to make eyeballing the symmetry of the wings simpler. It's a lot simpler that way.
Easy Steps To Draw Butterfly
Let's get started drawing a lovely butterfly!
Step 1:
Draw the head, thorax, and abdomen of the butterfly. The butterfly will be centered in the middle of your page using this approach. The head (a circle), middle thorax (oval), and abdomen (oblong oval), as well as two eyes (semi-circles on either side of the head) and two antennae, make up the body.
Step 2:
Draw two curved lines from the top of the body to the bottom (on either side). Make these lines the same length and arch. Draw two straight lines from the body's center (on either side). Make the lines all the same length.

Drawing the Body of Butterfly
Step 3:
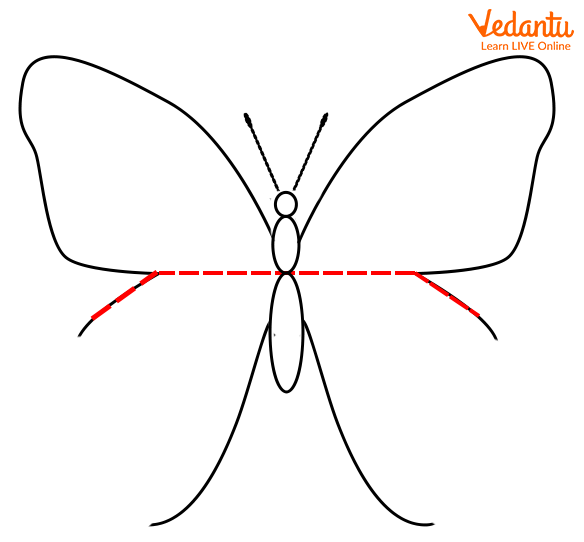
Draw two curved lines from the body's bottom (on either side). Make lines that are the same length and have the same arch. Connect the top of the wing to the center (horizontal) line using a squiggly line. This should be done on both sides of the wing.
Draw two diagonal lines from the middle line's end. Check to see whether they're the same length.

Drawing Wings of Butterfly
Step 4:
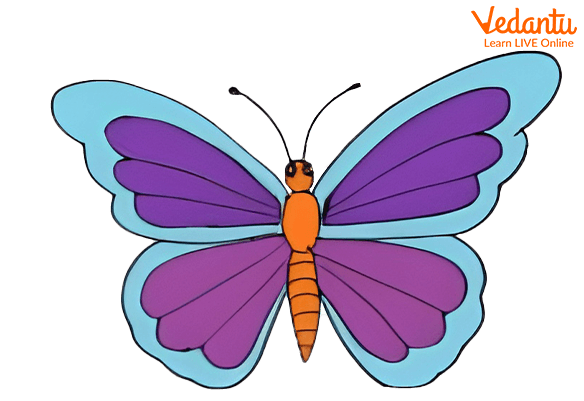
Draw two semi-circles connecting the last step's diagonal lines and the bottom arch lines. The general form of your butterfly is now complete. Take a step back to ensure that both sides appear to be fairly equal. Take advantage of this opportunity to address any issues that have arisen. Inside each wing, draw four teardrop shapes. Then you are done with the basic structure of a butterfly. You may add more designs to the wings as you wish.

Completely Drawn Butterfly
Ideas for Drawing a Butterfly
Here are some simple and entertaining ways to decorate your butterfly.
Coloring pencils, crayons, markers, acrylic paint, and water-colors can be used to fill in the body and patterns drawn on the wings of the butterfly.
Make a butterfly out of paper in your art notebook.
Paint a butterfly on a small canvas.
You can use any color you want: orange, blue, pink, purple, and so on to decorate your butterfly.
Conclusion
Your child may learn how to draw a basic butterfly with the help of this simple set of instructions. Encourage your children to draw more butterflies in different sizes and shapes, and to color them as brightly or subtly as they wish once they have mastered this drawing. Remember to appreciate their little effort, as by doing so, you will give them wings to explore the art form!
FAQs on How to Draw Butterflies for Kids: Easy Step-by-Step Tutorial
1. Write an interesting butterfly fact.
Butterflies have compound eyes that are stationary and can see a wide range of colours. Unfortunately for them, they have some nearsightedness! Because they perceive in the UV light spectrum, pink, red, and white are very appealing to them.
2. Why are butterflies so appealing to you?
They symbolize new beginnings, inspiring us to look forward to what the future holds. So, let's talk about how beautiful their fluttering is to so many people. Butterflies are seen as symbols of rebirth all throughout the world, signifying transformation, hope, perseverance, and life.


