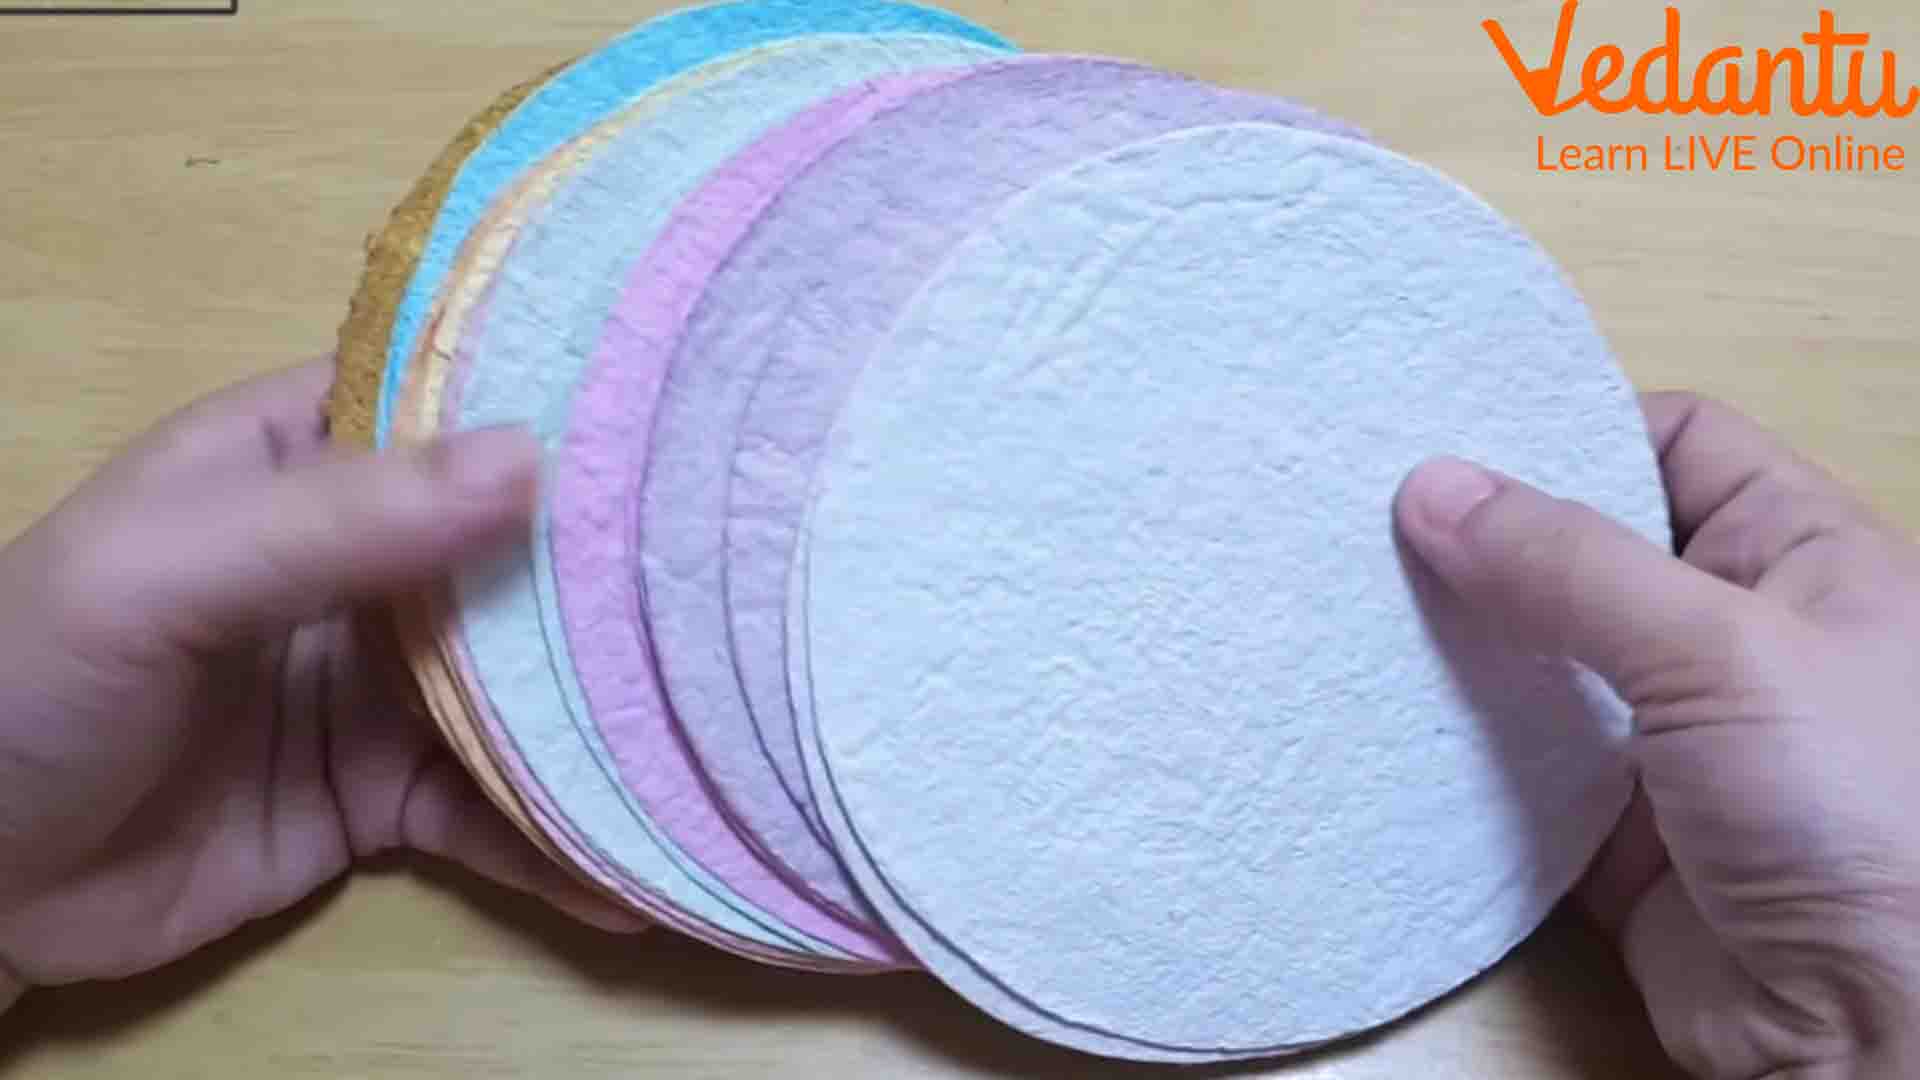
DIY Steps of How to Make Paper at Home on Your Own
Introduction
Paper has been the prime medium of documentation and communication for ages. It is also manufactured for various purposes such as packaging, insulation, etc. It is made of plant by-products and is generally made from trees. A survey suggests that the population of the USA can save almost 25,000,000 trees every year if they recycle only 10% of their paper consumption.
Hence, paper is made from fresh trees and from scraps. In this article, we will learn how to make paper at home from scratch. We will learn the easy steps for DIY paper making for different uses. First, let us learn what handmade paper is and where it can be used.
What is Handmade Paper?
As the name suggests, handmade paper is made of pulp prepared using various means at home. It is made without using any machine. A handmade paper piece looks different from the smooth rolls that come out of paper machines in industries.
This type of paper can be prepared at home or can be bought in the market for handmade paper craft. Students often make projects with such paper by using its rusty and rough surface. The process is very simple. A layer of pulp is laid where the cellulose fibres intertwine with each other to form a paper. It is then dried and used for various purposes.

DIY Handmade Paper for School Projects
Steps to Make Handmade Paper at Home
1. Things you need to make paper
Here is a list of things you will need to make paper at home.
Old and used papers or scrap
A pair of scissors
A plastic net
A blender
A large bowl
Water
A rolling pin
A wooden board
An absorbent material such as a towel or a cotton cloth
Here is what you need to do to learn how to make paper on your own.
Step 1: Make pieces of scrap paper
Rip and cut old paper you have gathered at home. The best way to ensure a good-quality handmade paper is by using drawing and watercolour papers. Remember that your choice of paper will dictate the quality of the handmade paper. By using such paper, you can easily make handmade paper for painting.
Step 2: Making pulp
Put the cut pieces in a kitchen blender and pour water. Make sure the blender is not full of paper and water. Keep a large bowl handy. Use the blender to make paper pulp. This is actually the first step to learning how to recycle paper.
Once the pulp is properly blended, put it in the large bowl. Add more water to the pulp. It is done to give more volume and thickness to your handmade paper. Let the paper pulp soak for at least 2 hours. The pieces will disintegrate better. Use your hands to blend the pulp once every hour.
Step 3: Use the plastic net
In this step, dip the plastic net in the pulp from the top to the bottom and lift. Draw one side of this net out of the pulp slowly. You will see the pulp sticking to the net evenly. You can clearly understand that the net will act as a paper DIY framework.
Step 4: Make sure the paper pulp covers the net evenly
Bring out the net straight from the pulp without distorting it. If the net gets distorted, your paper will become uneven. After pulling the net out, spread the pulp on the net as evenly as possible. There is no need to worry regarding the border of the paper pulp. We can make it even later.
Step 5: Place the net on a wooden board
You have already arranged a wooden board. It will be used as a non-stick surface. Place the net with the paper pulp on the wooden board. Use the cotton cloth to absorb water as much as you can from the pulp on the net. This is your small paper recycling machine where you will dry the pulp and pull out the net safely.
Step 6: Remove the net
Now that you have pressed and dried the pulp, it will not stick to the net. Hence, remove the net as slowly as possible to ensure the evenness of the pulp underneath it. In this step, you will find that the pulp is being pulled by the net as it does not stick to the wooden board. Make sure the pulp is dry enough to pull the net off.
This part of the process of making paper at home is a little challenging. Remember not to dry the pulp before removing the net. It will get destroyed as the pulp particles will get entangled and stuck in the mesh.
Step 7: Dry the paper pulp
After proper removal of the net, let the pulp dry. You can use a blow dryer or keep it underneath the sun to dry faster. This is the first phase of your step-by-step paper craft with handmade paper.
Once dried properly, you will find the paper is well-integrated and rough. Use it for your school projects for a beautiful effect and score well in the evaluation.
Recycle and Reuse Paper
This is how to recycle paper at home and make good use of scrap paper. It is taught to make students understand how much resources are used to make paper industrially. Learning how to make paper at home is also a good skill and an eye-opener for the young generation.
Follow the steps mentioned above to learn how to make paper and enjoy your creativity in school projects. Experiment with colour papers and get fascinating results.


