

DIY Friendship Bracelet Making Process With Proper Steps
Introduction
Friends are the biggest treasures we have in our lives after our family members. They are there when you are happy and sad. They stick to you through thick and thin and give you the ideal support you need. They will pull your leg but will also hold you when you fall. To celebrate friendship, you can learn how to make friendship bracelets at home and surprise all your buddies.
Learning how to make a friendship band is easy when you follow the process properly. We will discuss the entire process explained using proper steps so that you can make them on your own. Before that, let us learn what a friendship bracelet represents.
What is a Friendship Bracelet?
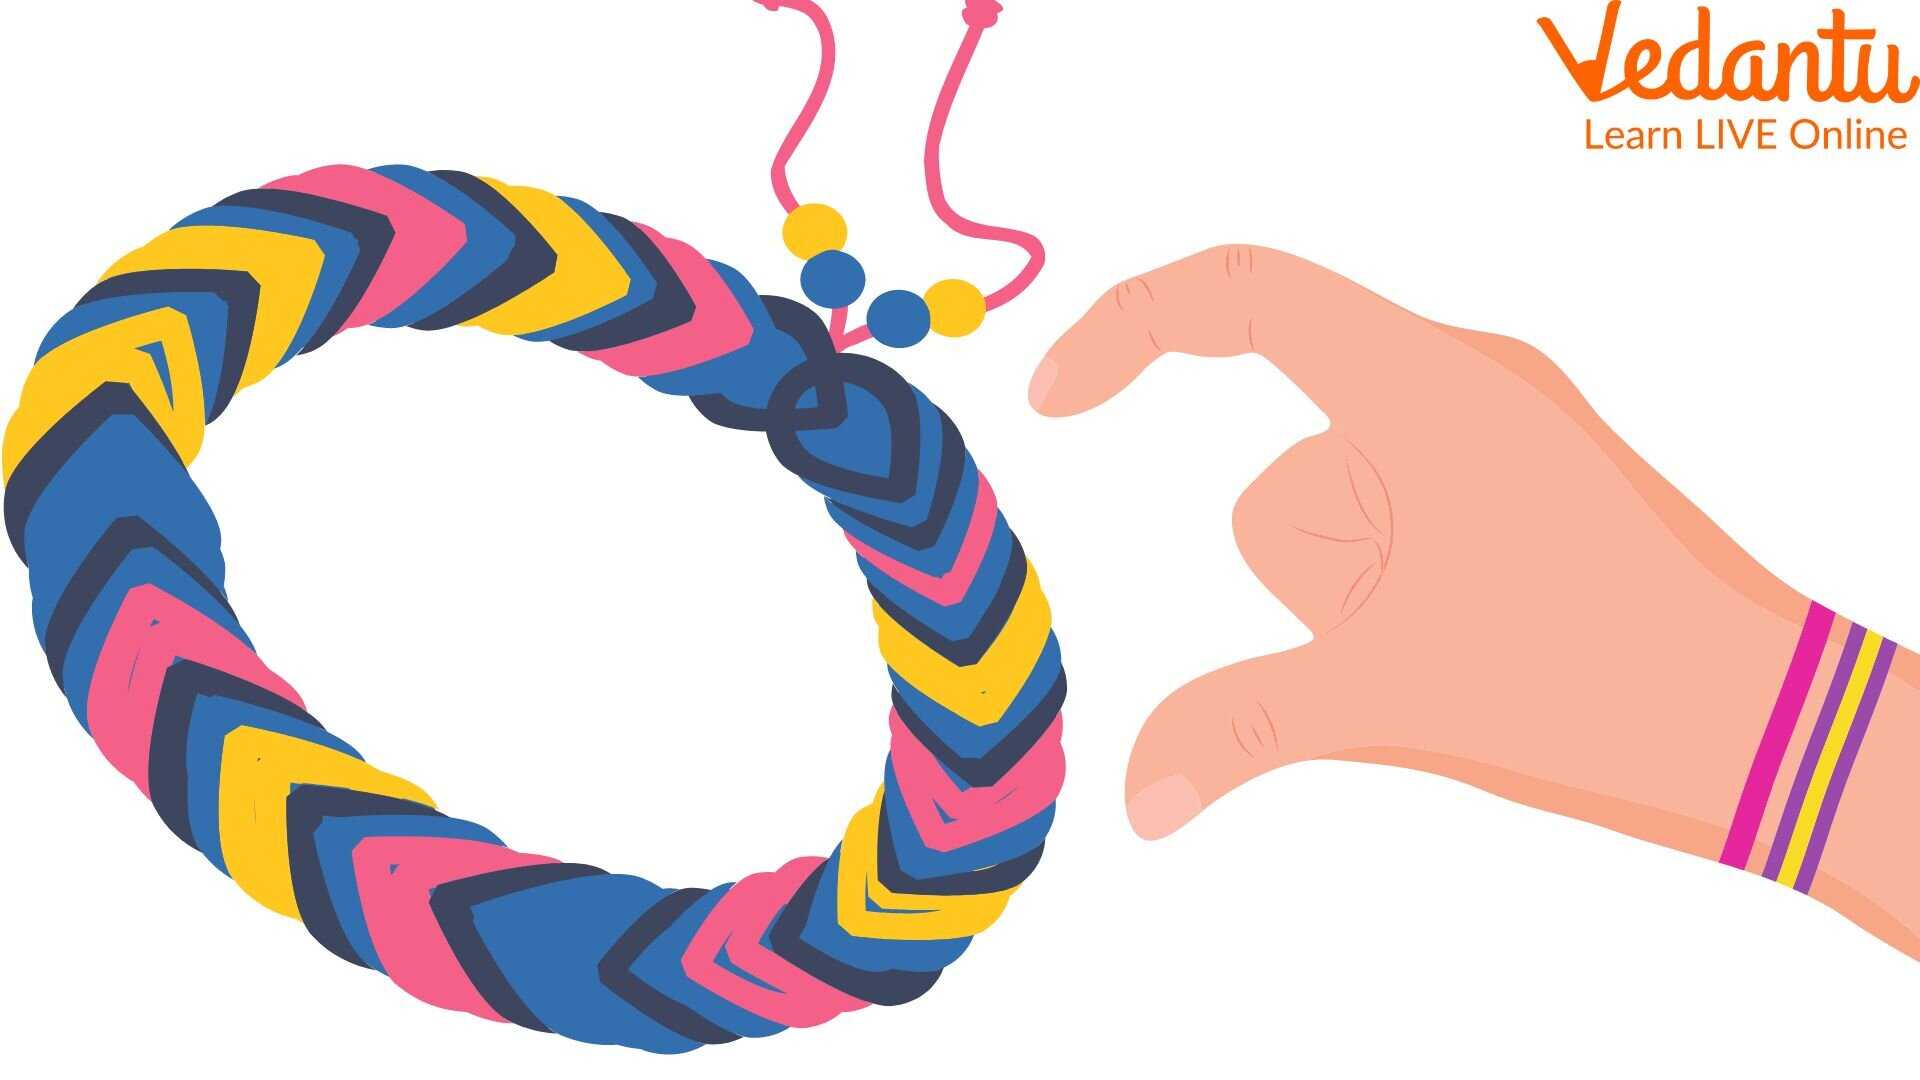
A colourful fancy bracelet, made of wool, threads, yarn, cotton, or any material that can be intertwined, is worn on the wrist to celebrate friendship is called a friendship bracelet. It can be bought or made at home by simple weaving techniques that can be learned.
It is a tradition that friends follow where they exchange gift bracelets made of beautiful threads and yarn. A bracelet is worn by the receiver and is considered to be a beautiful symbol of friendship. It is generally gifted on Friendship Day celebrated on 30th July every year.
Friendship Bracelet Made at Home
Steps to Make a Friendship Bracelet at Home
To make a friendship bracelet, we will first need to fixate on some bracelet designs first. The design will decide the way we are going to make a bracelet and what things we will need in the process.
The easiest of all common designs for bracelets is the triple-braided one. It is simple as we will need three different threads or yarn to intertwine or braid to form a long bracelet. Let us find out what we need to make triple-braided simple bracelets for your friends.
Three contrasting coloured strings. It can be wool, yarn, or cotton. A material is chosen based on the colours, comfort, and durability.
Duct tape
A smooth board
Beads if you want to add to the bracelet design
These are the simplest things you can procure easily from the market to make a friendship band for best friend.
Let us proceed to learn how to make bracelet from scratch.
Step 1: Cut the three strings you have taken into a length of 12 inches. You will need similar lengths for all the strings. Remember, the strings will be intertwined to form a bracelet. Hence, the original length of strings will be shorter once the design is done. Hence, keep the lengths of strings a little extra for adjustments. Cut two for each colour to give more depth and width to the bracelet.
Step 2: Place the six strings on the smooth board. You can also take a table too. Stick the duct tape to hold the strings at the beginning closer to each other. It means that two strings of each colour will be closer to each other than the rest.
Step 3: The three pairs will be vertically spread parallel to each other. This is the first step of how to make friendship band.
Step 4: Take the leftmost pair first over the centre pair and keep them flat to the surface. In this step, the leftmost pair will become the centre pair.
Step 5: Go to the rightmost pair now and bring in above the centre pair. It means that the rightmost pair will become the centre one. Remember to keep the strands flat as much as possible so that your bracelet does not get curled or crooked.
Step 6: You have got hold of the entire process. Yes, it is that simple! Now, continue doing the same. Repeat the process where the leftmost pair will become the centre pair and then the right one will become the same. Keep it going until you reach a good length to consider.
Step 7: When you reach the end of the strings, tie a knot closer to the end braids. It will secure the braids you have made with triple strand pairs.
Step 8: Remove the duct tape stuck at the beginning of the strands. Tie another knot at the loose end closer to the braids. The braids will not loosen up.
Step 9: Keep the extra length of the strands so that your best friend can adjust the length according to his/her wrist.
This is how to make bracelet at home without any hassle. It might be difficult in the beginning. The moment you master the intertwining or braiding action, the entire process will become a cakewalk.
You can also check the tutorials depicting friendship band images to learn how to make other styles and designs. First, master the easier one and then proceed to make progress with more intricate designs. You can also add small beads introduced in the strings at regular intervals to make a remarkable design.
Expressing Friendship with Beautiful Homemade Bracelets
The best expression of your friendship comes with effort. Efforts prove how deep your friendship is. In this fake world, words do not stand the test of time. When someone is always with you, you can call him your best friend for life. Hence, your effort to express your friendship should be worth praising.
Making a best friend bracelet is the ideal way to express your gratitude to your pals. It is not hard at all. They will surely appreciate the hard work you have given. Learn how to make the easiest one with the triple-braid technique and then proceed to add some beads to the design. Impress your friends with beautiful colour combinations. Take suggestions from the internet to get a beautiful friendship bracelet done in no time.


