

DC Motor DIY: Learn How to Make One at Your Home
Do you want to know how to make DC motor at home? Well, read on ahead to find out more. There are two different types of motors: DC motors and AC motors. In this blog, we are going to talk about the DC motor and how to build one.
We are surrounded by machines and with that, it can also be said that motors are all around us. There is a pretty good chance that as you are reading this article, there are countless motors around you. From your laptop to your ceiling fan and from your mobile device to your washing machine, there are so many motors in every single one of your rooms. It might not be very surprising to know that everything that runs like a machine is probably running on a motor. So, do you want to know how you can make one? Well, this DC Motor DIY article is going to help you out for sure.
The modern lifestyle that we have today wouldn’t have been possible without the use of these motors. Most electric motors these days are easily the most important inventions in our lives. However, when it comes to the creation of motors, not many of us are aware of the fact that it is really simple to create one. With the help of these simple DIY tips, one can easily create a DC motor at home. Do you want to know what a DC motor looks like, for reference? Well, here is a picture of a DC motor to give you a clear idea.
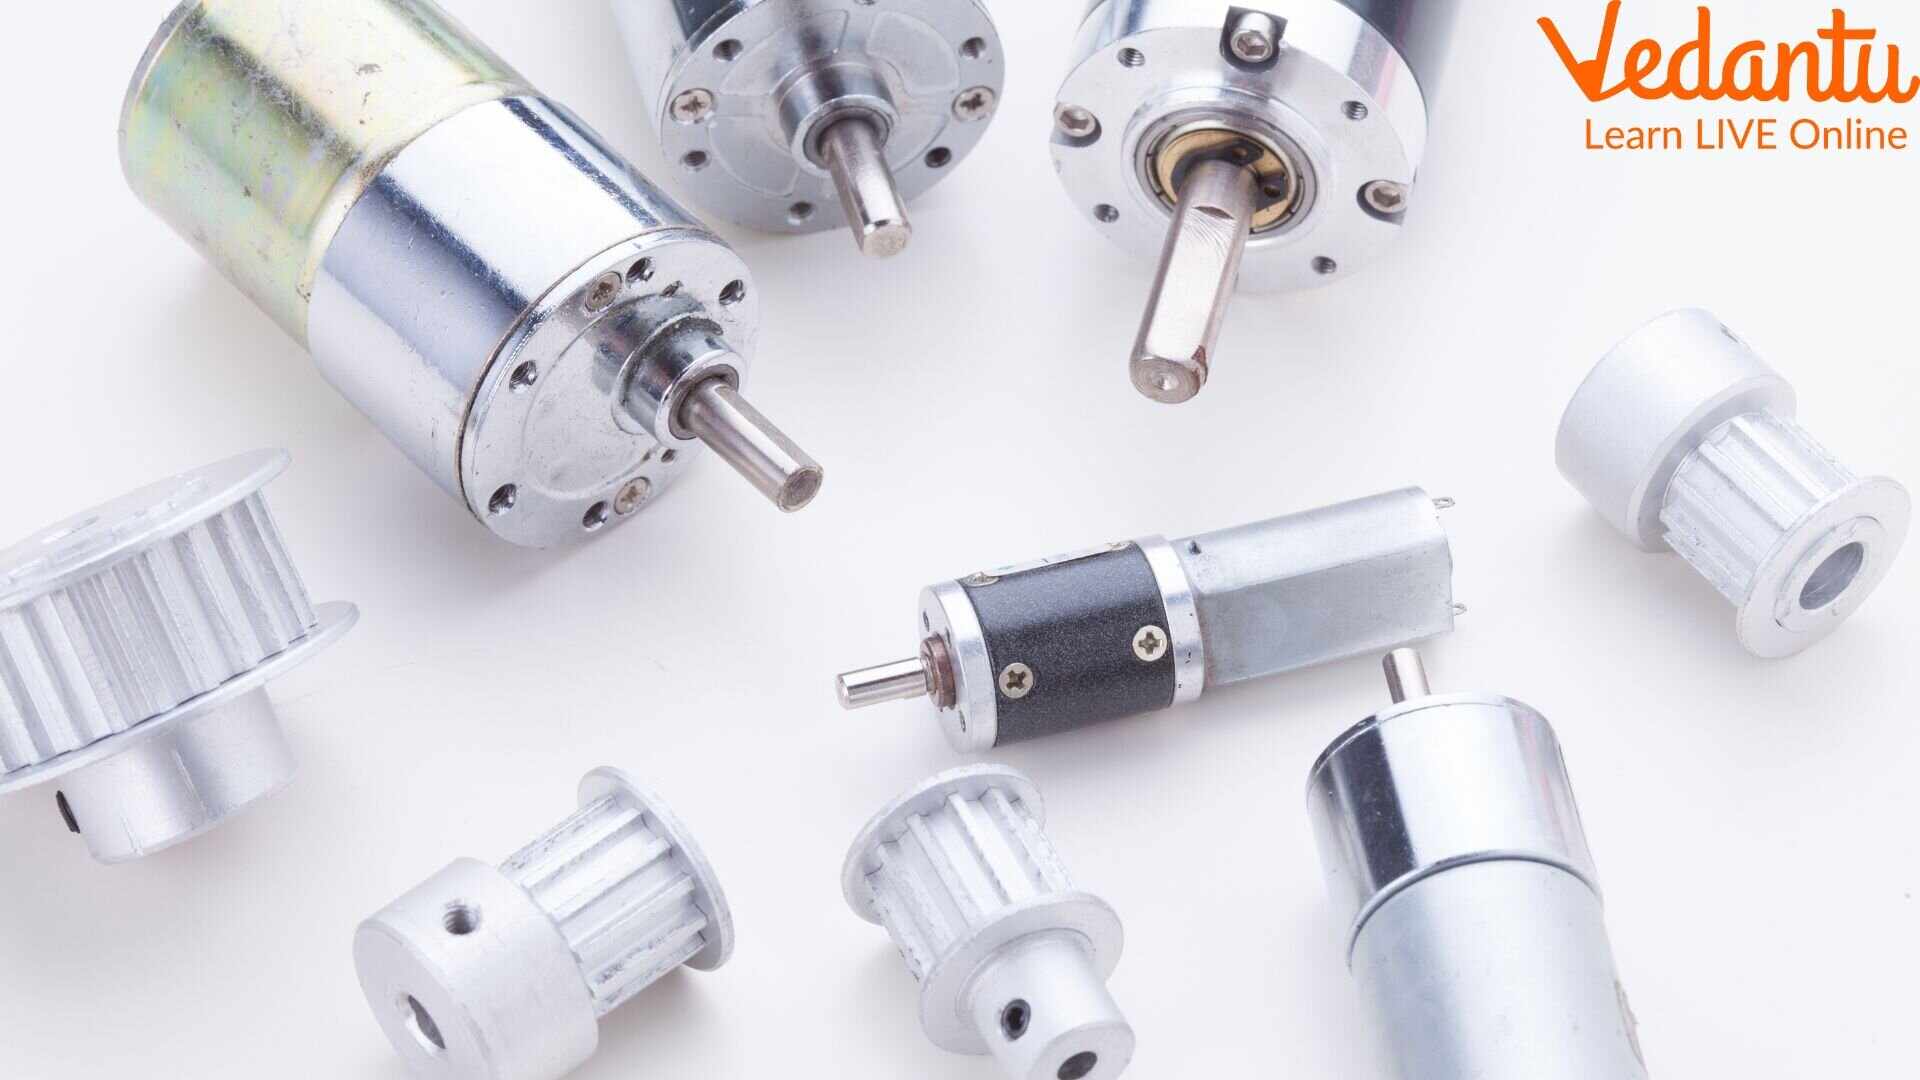
DC Motor
Now a normal DC motor is big in size but we are going to create a homemade smaller version. So, before going ahead with the process of creating the DC motor, it is important to know what an electric motor is and how it works.
The Main Principle Behind the Working of an Electric Motor
The main purpose of the electric motor is to make sure that electrical energy induced into the motor is converted efficiently into mechanical energy. Similarly, when you are converting mechanical energy into electrical energy, it can be done through a device known as a generator. The main principle of motor functioning is based on the particular fact that the conductor that is carrying the current will result in the creation of a magnetic field around it. Once the magnet is introduced into the entire circuit, there will be a movement in the conductor. So, since the whole thing is shaped like a coil, it will start rotating. But how does this take place?
Well, the magnetic field that is present in the magnet will effectively interfere with the magnetic field that is created by the electric currency which is flowing inside the conductor. Now that the coil has turned into a magnet, there is a side that will be attracted to the opposite poles. So, the coil will start to rotate because of this effect. Still, having some trouble understanding how it all happens? Well, can you make a guess about the scientific phenomenon that is responsible for causing such an effect? Well, one look at your hands and you will be able to tell. Yes, we are talking about Fleming’s Left Hand and Right-Hand rule. So, now that you are aware of the functions of the motor, let us learn how to make a powerful DC motor at home.
How to Make a DC Motor at Home: Learn the Process
Do you want to create a DC motor at home with simple components? Well, the process is very simple and you will not need that many ingredients as well. Just some basic items that one can find around the house will be sufficient to create a DC motor that will blow your mind. Let us have a look at the components that you are going to need in order to create the DC motor.
Materials Are Listed Below:
Non-enameled copper wire
Rubber bands
1 C Size Battery
Ferrite Magnets
Marker Pen
2 Steel Paper Clips
Methodology Used for Creating a Homemade DC Motor
First of all, you will have to take the copper wire and properly wrap it around the marker pen three or four times in order to create the coil structure with axles. Now position the ends of the coil across from one another to create the axle. This is what we call armature. Make sure that the copper wire can be rotated easily.
Take the paper clips and shape them in a way that there are loops on the top for holding on to the coil axles.
Now you will have to pass the coil through the axles and take it into the loops of the paper clips that are attached to the battery. What you have created now is a circuit and the electricity will be able to pass through and reach the paper coil via the battery. You might see that the paper clips are starting to heat up a little bit. This is a sign that things are working out.
The next thing to do will be to bring the magnets closer to the circuit and divide them into 2 batches signifying the opposite poles. Place one batch on the battery and make sure that the other batch is placed at about 180 degrees in the opposite direction to the first batch.
Now you will see that the coil has started to move and it is rotating. You can also nudge it to check if everything is alright in case it is not rotating. The homemade DC motor is ready.
Conclusion
These are some of the important steps that you need to follow in order to create your very own DC motor at home. Following these simple steps can help you create a very small specimen of the motor that runs your machines, fans, toys, and much more. The procedure to build a simple DC motor is pretty easy and the components needed for the procedure can be easily found around the house. Make sure that you follow each step carefully to get the desired results.


