

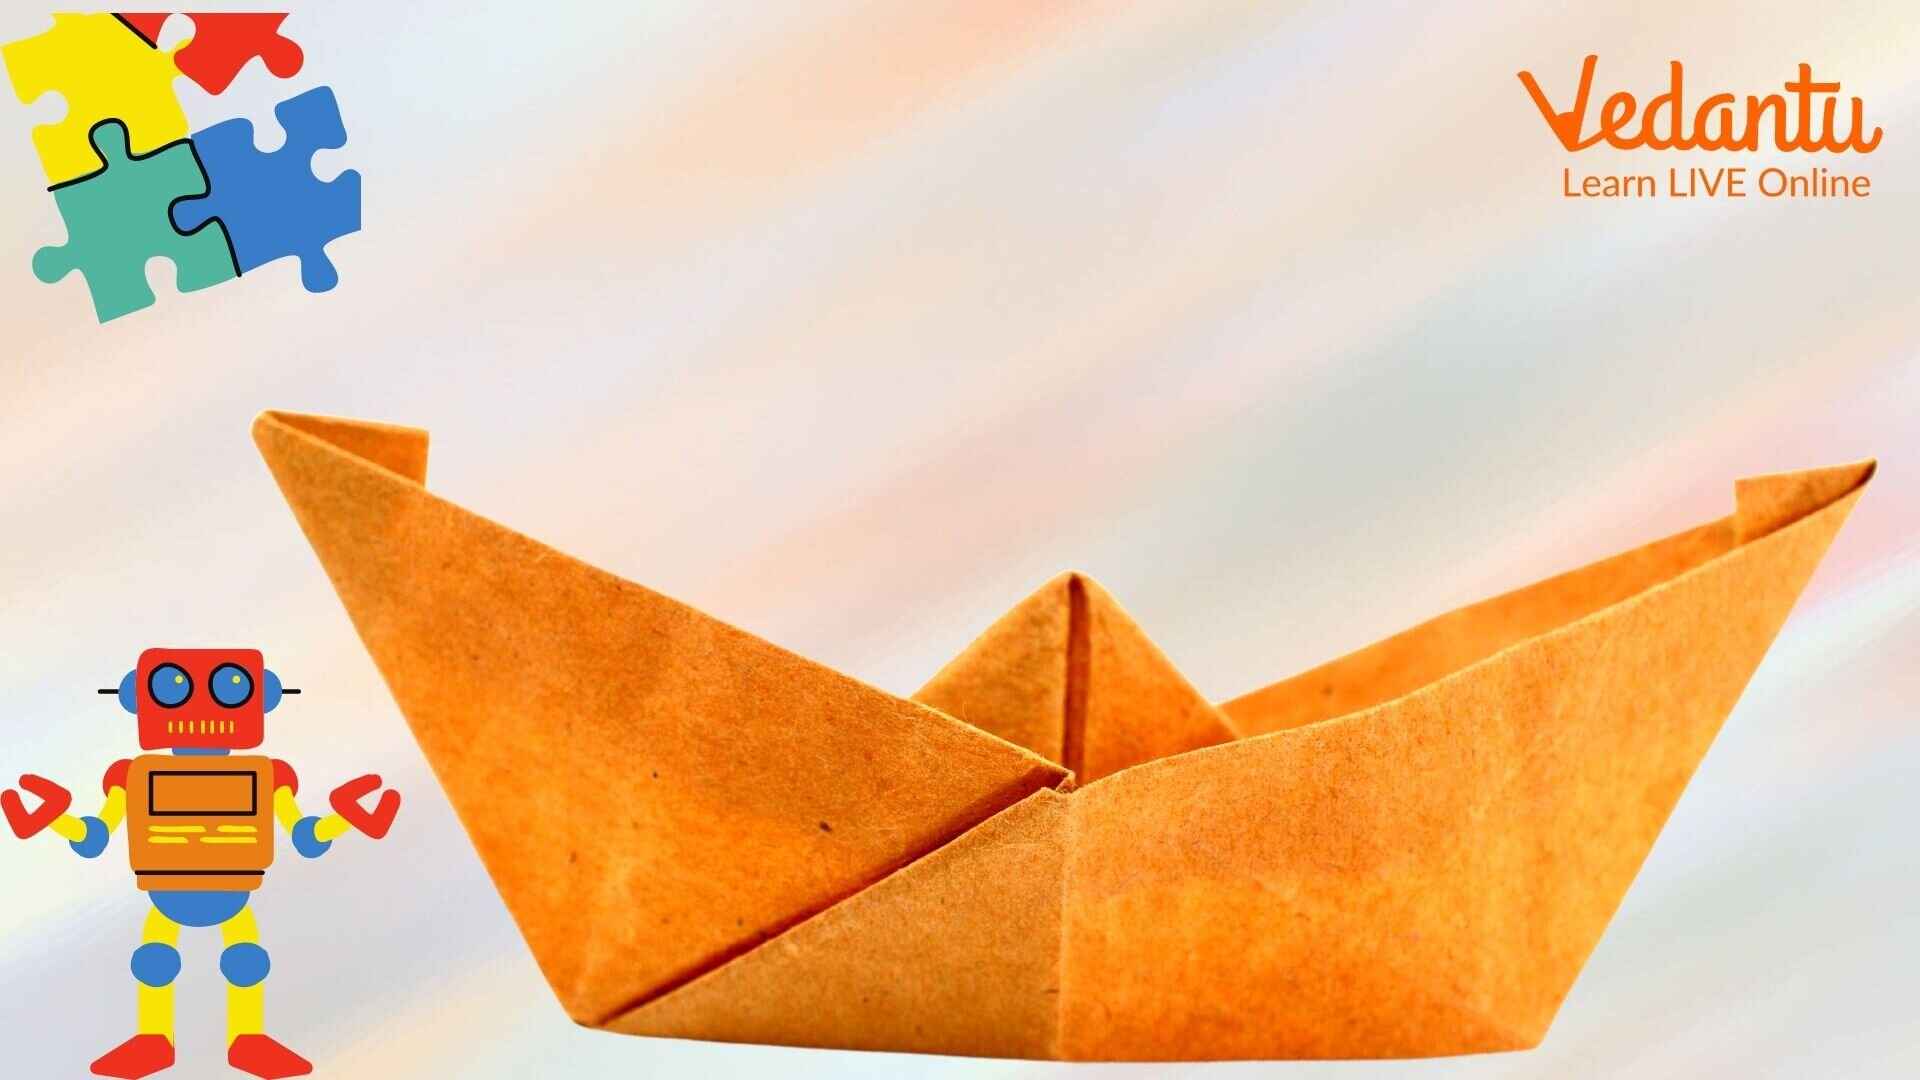
Making Paper Boats is Super Easy and Fun
Is the rainy season right around the corner? Then we suggest teaching your children how to make paper boats! Most kids are stuck at home on a gloomy rainy day. And they might end up getting bored too fast. To keep them engaged for a long time, we suggest you teach them how to make a paper boat from scratch!
Children can make paper boats with both newspaper and origami sheets. They can float the paper boat in a puddle or along any stream of water. And do you know what the best part is? They can make as many as they want!
So let's check out the two easiest ways of making paper boats with both old newspapers and origami paper boats. Let's get started!
How to Make a Paper Boat with Old Newspapers
Paper Boat With Newspaper
Materials Required
Newspaper
Bamboo skewers
Wallpaper scraps
Strong glue
Process
Take the newspaper and cut it into the size of 35*45 cm. You can take the help of a ruler to measure the length of the newspaper.
Fold the newspaper in half from top to bottom. Then again, fold it from side to side and create a crease. Unfold the paper.
Please fold the paper from the upper left to touch the central crease. Repeat the process for the upper right tip.
Wrap the bottom flap up, flip it over and wrap the other bottom flap up. Put your thumb in the middle, pull it outward, and press the paper flat to make a square.
With the tip of the open side, lift any bottom flap and touch it to the other tip. Turn over the paper and repeat the process to get a triangle.
Next, hold onto both the upper tips and pull them apart gently to create your paper boat!
If you wish to decorate, you can cut out two small pieces of wallpaper and put a skewer through both the pieces to make a sail. Poke the skewer to the boat's top and secure it with glue.
Step By Step Guide on How to Make Paper Boat with Origami
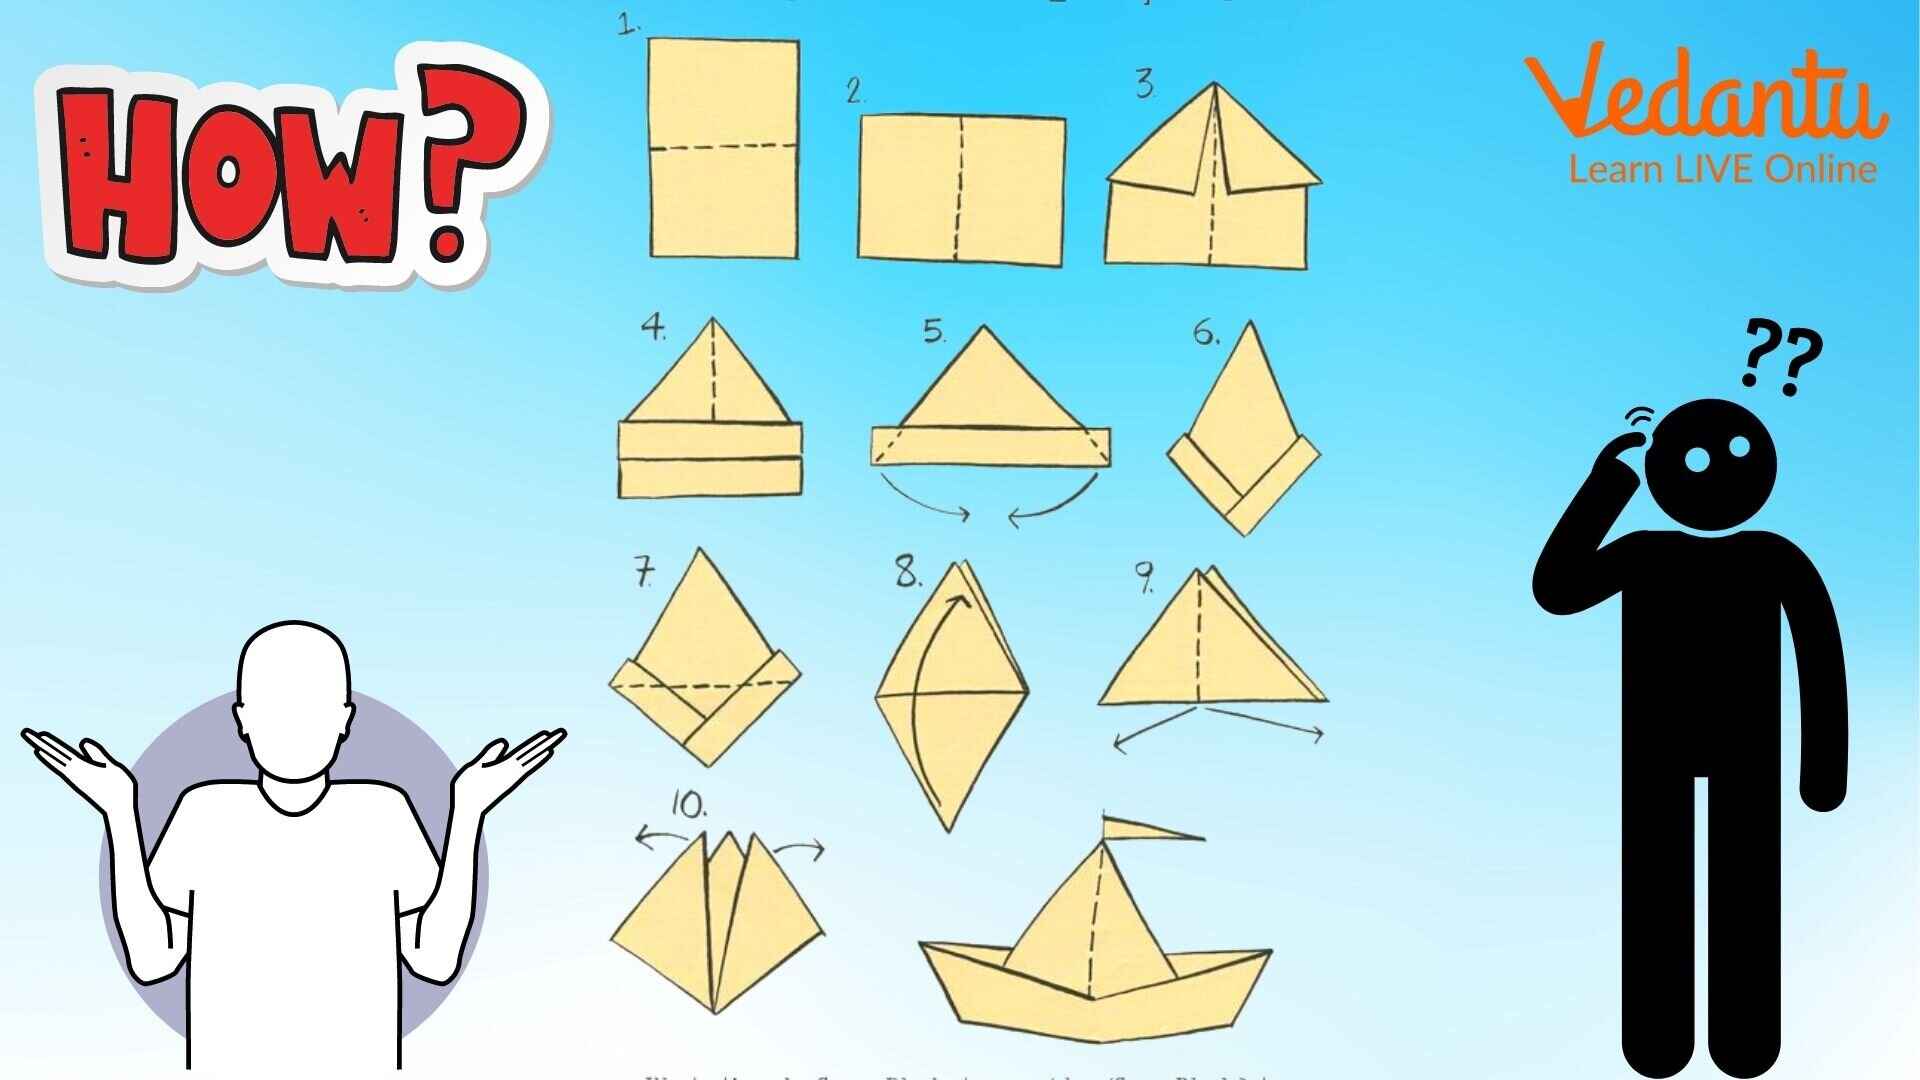
Origami paper boats are super easy to make. All you need is an origami paper of your choice and colour, and that's it. Here are the steps to follow to make the boat -
How to Make Paper Boat with Origami
First, fold the paper in half. Keep it down vertically on your table or floor and fold it from left to right to ensure that the corners meet. Make sure there is a neat crease on the paper. You can run your finger over the crease 2-3 times to make it more pronounced.
Next, unfold the origami paper, and rotate it 90 degrees to fold it up in half again. By now, the paper should be in a horizontal position. Once you are done adjusting the paper, fold it from left to right. It will create yet another crease in the middle of the page.
How to Fold a Paper to make Paper Boat
Now flip the origami paper so that the fold opens facing you. Then fold the top corners of the paper towards the middle leaving about 2.5 to 5 cm of space at the bottom. Ensure these folds match with the central crease. To secure all the folds, crease along the edge of the papers.
Next, pull up the bottom of the page and fold it up against both sides. Take the bottom flap and fold it against the lower end of the two triangles. Turn the paper around and repeat the process with the other flap. It will result in a paper hat.
Next, take the lower corners and fold them over inside. On one side, take the rectangle's corners and put them over the triangle. Tuck those paper parts inside the triangle's edges and crease them with your fingers to stay in place. Then put the bottom flaps towards you over the triangle edges.
Now it is time to make the triangle into squares. Rotate the triangle 45 degrees and open the bottom of the triangle with your fingers. Gently pull the paper so that it slowly turns into a square.
Next, fold the bottom flaps and rearrange your paper to fold up the bottom parts of the diamond. Fold up any one corner to align with the top one. Repeat the process on the other side too.
Now, turn the resultant triangle into a square too. Rotate the triangle 45 degrees and open the bottom of the triangle with your fingers. Gently pull the paper so that it slowly turns into a square.
Next, pull the triangles to the sides of the square. Start with the top of the diamond, pilling both sides apart so that the middle seam blooms. Make sure to crease the bottom of the folded area to make your paper boat stronger.
And that's it! Your paper boat swing is ready!
So we just saw that making paper boats is a super fun activity for both you and your kids. This activity can keep both their restless minds and hands occupied, making the cutest paper boats that they can use to play in the rain. So get the materials mentioned above and start to make a paper boat with your kid!


