

Making Paper Kites: Fun Activity for Kids
Kite-making is a very fun process to spend time with your kids. Rather than giving smartphones to them, you can keep your kids occupied by doing many creative things. It builds up a beautiful bond between the parents and the children and also helps children be creative.
Creativity is a process that brings out the artistic capability of a child. By teaching how to make a beautiful kite at home, you can help your kids learn about art and craft. In this way, you can have fun with them.
How to Make a Kite
Make a Kite at Home
Here are some simple steps on how to make a kite that can fly.
Materials Required
Full sheet of plastic bag or newspaper or any other paper
Scissors
Pencil
¼ inch wooden stick
Tape
Strings
Ribbon
Ruler
Small hand saw
Procedure
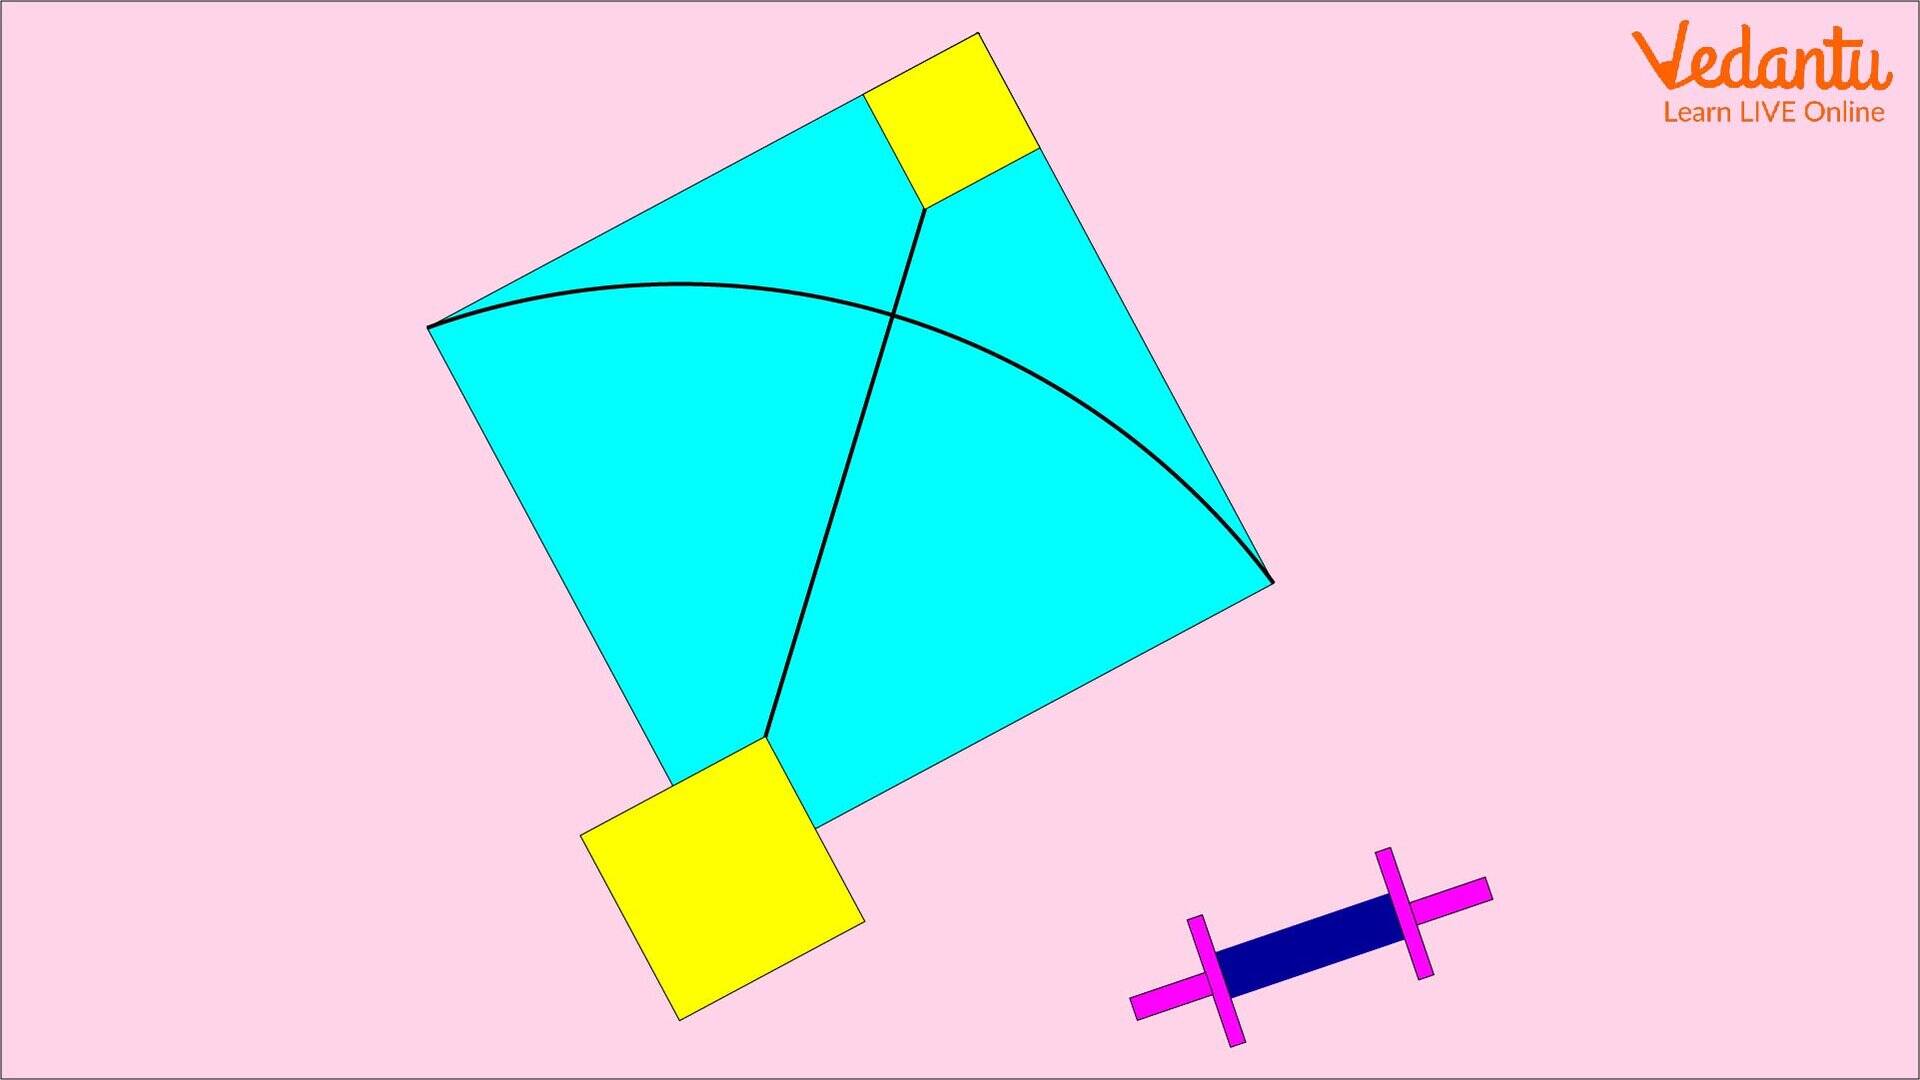
Firstly, to make a kite at home cut the wooden sticks into 24 and 20 inches. The proper measurement is important for the kite to fly. It is one of the most important steps to make a kite.
The next step is to make small nudges across the sticks. A small hand saw is always useful. Use your hand saw to make the nudges on the rounded end of the sticks. Make sure that the nudges are horizontally aligned. If the nudges are vertical, take another stick to make the nudges.
One of the steps to knowing how to make a kite that can fly is to lay the sticks in position.
Now, join the two sticks with a tape or a string after marking 6 inches on the stick, 24 inches. Make sure to tie up the joints with an adhesive thread, so it does not create any problems later.
Once you finish joining the two sticks to each other, place the paper on a flat surface and put the frame made from the sticks on the paper. Avoid using any hard paper. It prevents the kites from flying. It is one of the most important parts that you need to observe if you want to know how to make a kite with paper and sticks.
Next, fold the edges of the paper very carefully and attach them with tape. You need to be sure that the edges are very strong because the kite can only fly if the air gets to pass through sticks and paper. If it has any loose edges, it is not good kite-making. It is also an important step on how to make a kite.
Use a pin to make two holes on the kite.
Cut the string in 24 inches to attach it to the top and bottom of the kite. Pass the string through the holes and tie it to the bigger string to be able to control the kite.
The last step is to take a ribbon and attach it to the end of the kite to make a tail. That is it. These are some steps to let you know how to make a kite with paper and sticks.
While making a kite will help your child enjoy the moment, it can also help them become more creative.
How to Make a Rokkaku Kite
Make a Rokkaku Kite at Home
Skewer Rokkaku is a very good kite. It looks beautiful, but it can also fly in the light wind. If you want to know how to make a beautiful kite, try making a Rokkaku kite. Below are the steps to know how to make a beautiful kite step by step:
Required Materials
Light plastic bag
Marking pen
Pen
Ruler
Tape
Scissors
Ribbon
Skewers
Procedure
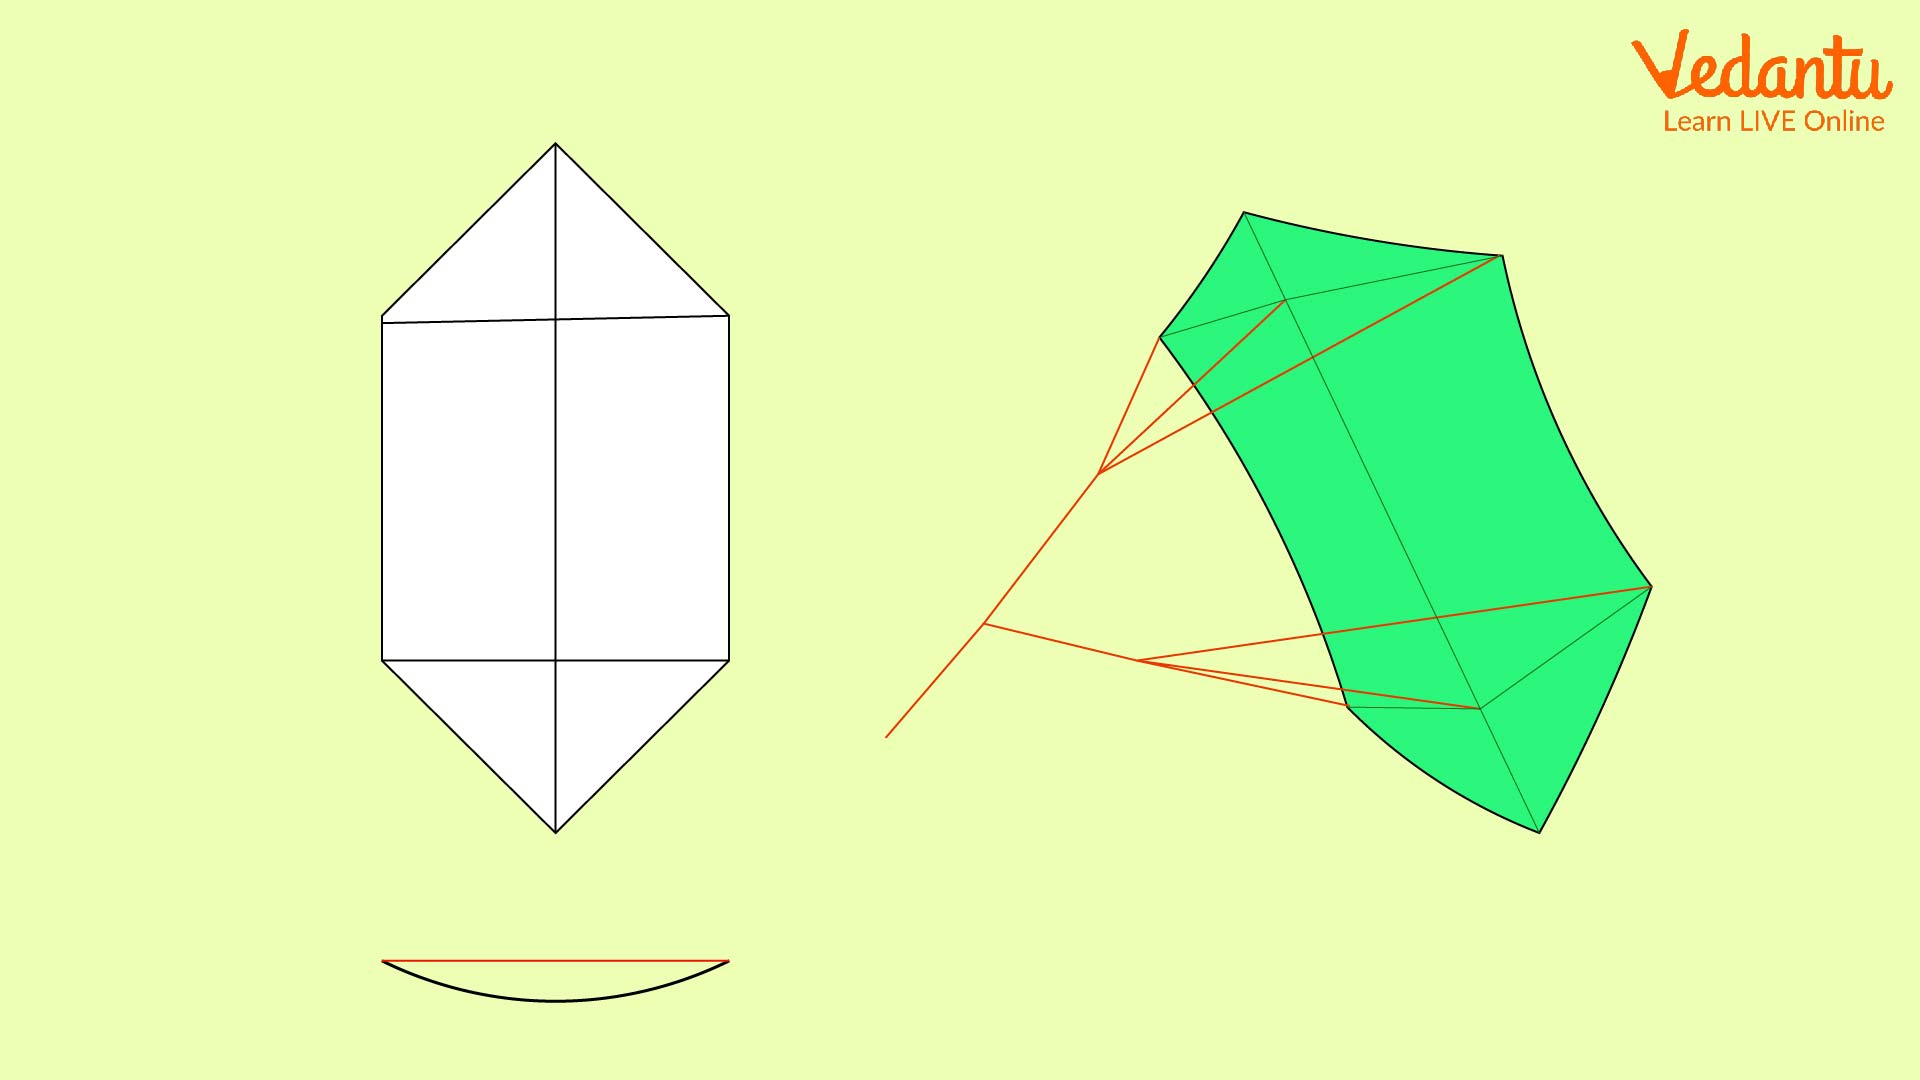
The Steps to make a kite are different from this one. Firstly, take a plastic bag and lay it on the floor. It is one of the major steps to knowing how to make a beautiful kite.
Take a pen and put some marks on the plastic. The marks must be on the opposite side of each other.
Now, take a marking pen, draw a straight line between the two marks, and draw two narrow lines from the marks to the edge of the plastic bag to create the shape.
After flipping the plastic bag, trace over the lines you have drawn using your marker pen. Use a ruler to draw the lines properly.
Next, cut off the rectangular section of the plastic bag.
Open the bag and lay it on the floor, completely flat.
Add sticky tape along every line and leave most of the tape on the inside of the sail's edges.
Use your scissor and cut the black lines to get the kite's shape.
Attach the skewers to the plastic with the tape.
After snipping the skewers to the length, attach their tip to the plastic.
Put the other skewers across the right and left corners of the kite.
If the stick is a little longer than you imagined, then snip off the tip very carefully so that the skewers do not get snipped off too much.
Now, attach the tape to the sail corners.
Use little glue to attach the skewers where they cross each other.
Lastly, attach a ribbon to the kite to sail it.
So, by following the simple methods discussed above, help your child make a kite and learn craft ideas.
Conclusion
Kite-making is one of those fun games and handcraft activities that your kids can enjoy. First, you can go to shops and buy the materials. Then, you can discuss which kite your child would like to make. Another benefit is that it can build a very strong bond between a parent and a child. Also, kids get a lot of ideas about how to create something.
Next time, by taking ideas from this activity, children may try to create something independently. In other words, kite-making is one of the activities that bring out the child's artistic side and boost their level of dedication and patience.


