

What is a Water Wheel?
A water wheel is a mechanical device that extracts and converts the energy generated from falling or flowing water into various useful forms of power frequently used in water mills. The extraction and conversion of energy are done through a set of paddles fixed around the wheel. The force generated from the moving water is wielded against the paddles, and the resulting rotation of the wheel is then transferred to machinery through the shaft of the wheel. The energy extracted from the water wheel is in its cleanest form and is good for the environment.
Helping your children make their own DIY water wheel project at home can be an entertaining activity. It will help the older children to get introduced to hydroelectric power, renewable energy, and the conversion of the kinetic energy of water into mechanical energy, and just a joyful building challenge for the younger ones. In this article, we will discuss the various uses of the water wheel and how to make a DIY water wheel at home.

A Water Wheel
Uses of Wheel in Different Activities
Wheels play an important role in our daily life. Since the invention of wheels, they have been vastly used and evolved throughout history. When used with axles or shafts, wheels easily stimulate the movement of heavy objects. In other words, wheels help transportation while supporting a load when conducting labour in any machine.
Among the other uses of wheels, water wheels act as one of the primary sources for generating numerous power. Let's now discuss the working principle of water wheels and their important uses.
How Does a Water Wheel Work?
Since archaic times, people have been using natural sources of energy to accompany the work power of humans and animals. People started using water wheels for the first time in ancient periods, which became widespread in the middle ages.
Firstly, the wheel power of the stagnant water is transmitted to the vertical shaft that makes the millstone rotate inside the mill with the help of gears and the shaft that extends from the axle. These millstones are positioned on the top floor of the mills within certain containers.
In the next step, grains are added to the mills using a hopper, and with the help of shafts, the ground material is finally transmitted to the storage units.
Various Uses of Water Wheels
In the middle ages, water wheels were extensively used for powering most European industries, together with the windmill. They were used for irrigating crops, grinding grains and supplying drinking water to the villages. The most common use of water wheels was in green mills. However, their uses were also considerably observed in sawmills, mines, and even iron forges.
Although the usage of water wheels is not that widespread nowadays, hydroelectric dams perform based on the basic principles of water wheels, i.e., by using the power of the water flowing to facilitate the movement of machines, often called turbines.
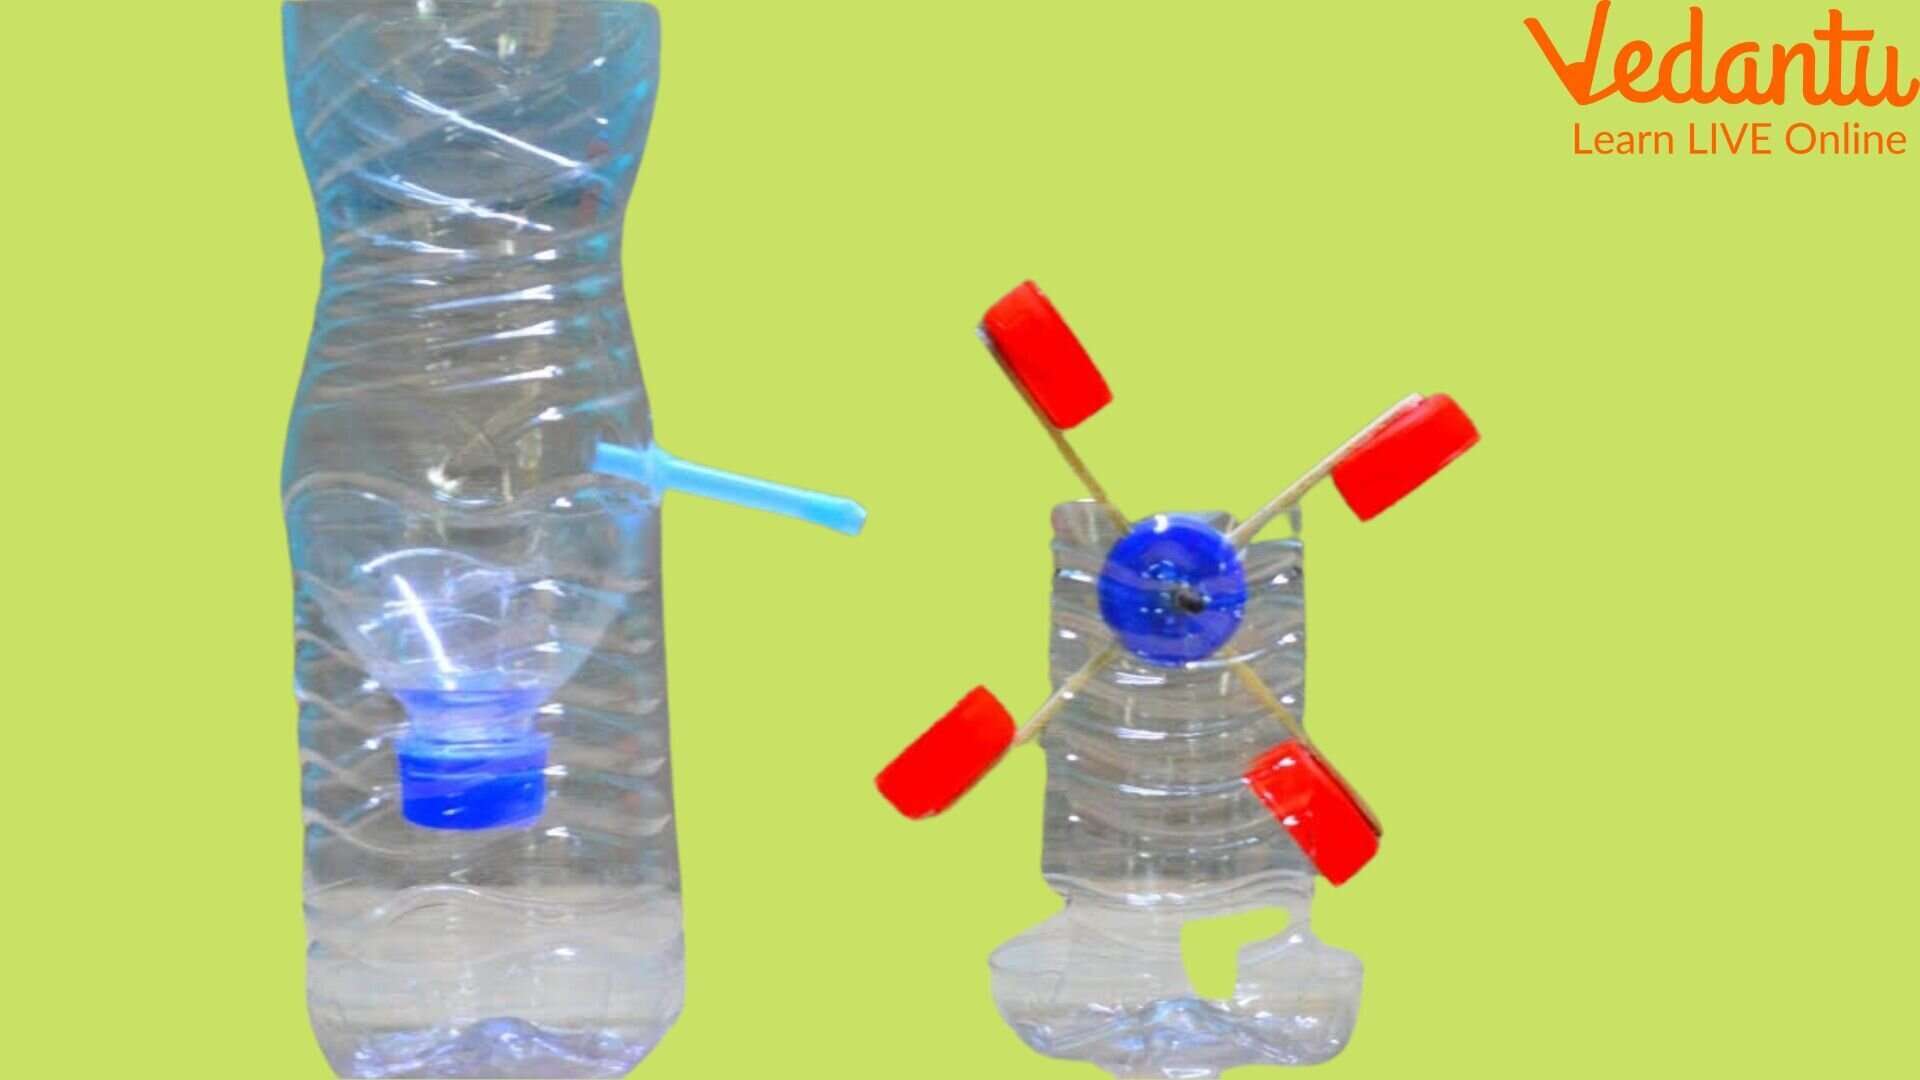
How to Make a DIY Water Wheel
As your kids grow, their studies include chapters that cover topics on hydropower, one of the natural sources of power generated from flowing water. The studies become more effective when they get to learn through practical experiments. Helping your child make a DIY water wheel model can help enhance their knowledge of the working mechanism of a water wheel.
Here is a step-by-step guide to help you build a water wheel at home.
Materials Needed
Plastic clear cups - almost 6 to 12
Plastic container lid
Ribbon spool - a 3 ½" diameter would do
Dowels - preferably 3/16" diameter
Marker pens
Push pins
A pair of Scissors
An Exacto knife
Glue - preferably hot glue
Pitcher
Water
Straws
Artificial food colouring - this can be kept optional.
DIY Water Wheel
Method
Step 1: Collect all the materials listed above to start preparing the water wheel.
Step 2: Take the ribbon spool and the plastic lid. Trace the outer line of the spool onto the lid and cut it out using scissors.
Step 3: Make a hole in the centre of the cut-out portion of the lid with the help of a push pin. Ensure the hole is large enough so the dowel can easily fit through it.
Step 4: Fix the cut-out portion of the lid to one side of the spool using the hot glue gun. With the help of an Exacto knife, trim the edges to smooth them out. You should remove the ribbon from the spool, as it will be easier for you to carry out the project without it.
Step 5: Take the plastic condiment cups and lay them by the spool's perimeter. Make sure that each cup is as close as possible to the next one. Use the hot glue and fix the cups in this order around the perimeter of the spool. The number of cups you will need in this process will depend on the size of your spool. If your spool is larger, you will require more cups to add.
Step 6: Take a dowel and slide it through the hole in the centre of the lid.
Step 7: Next, pick up a straw and slide it over the dowel very carefully so that it does not cause any disturbance to the attached cups.
Step 8: You're almost ready with your DIY water wheel model. Now, you need to test it to see if it works per the requirements.
Step 9: Pour some water with the help of a water pitcher or a bottle over your water wheel, or you could place the water wheel directly in the sink below the tap. Check if it starts spinning or not. You may even play tactically with the spinning speed by making it slower or faster with the increase or decrease of water pressure.
Conclusion
A water wheel is a device mostly used in mediaeval times to convert the energy generated from falling or flowing water into appropriate forms of power. It is widely used to generate high power to increase the production of grinding grains, supply water for irrigation of crops, and in most industries.
Today, though the use of a water wheel is not so extensive, its basic principle mechanism is still being used in hydroelectric dams. Children will come across this device in their studies, and it's always better when they get to learn by preparing a DIY water wheel generator.


