

Learn Different Ways to Make Corner Bookmarks
Nowadays, when anyone buys books, they usually get bookmarks to mark the last page someone has read. However, if you are quite good with handcraft and like to spend a lot of time experimenting with your skill, you can consider making DIY corner bookmarks. Any DIY bookmark can be heaven for bookworms. However, you can attach the DIY corner bookmarks at the corner of the page to mark the last page you have read.
Would you trust us if we say the DIY paper bookmarks give a different look to your books? Not only that, making these kinds of crafts brings the creativity out of a person. So, in this article, we have mentioned how to make DIY corner bookmarks in different ways.
DIY Bookmark Ideas
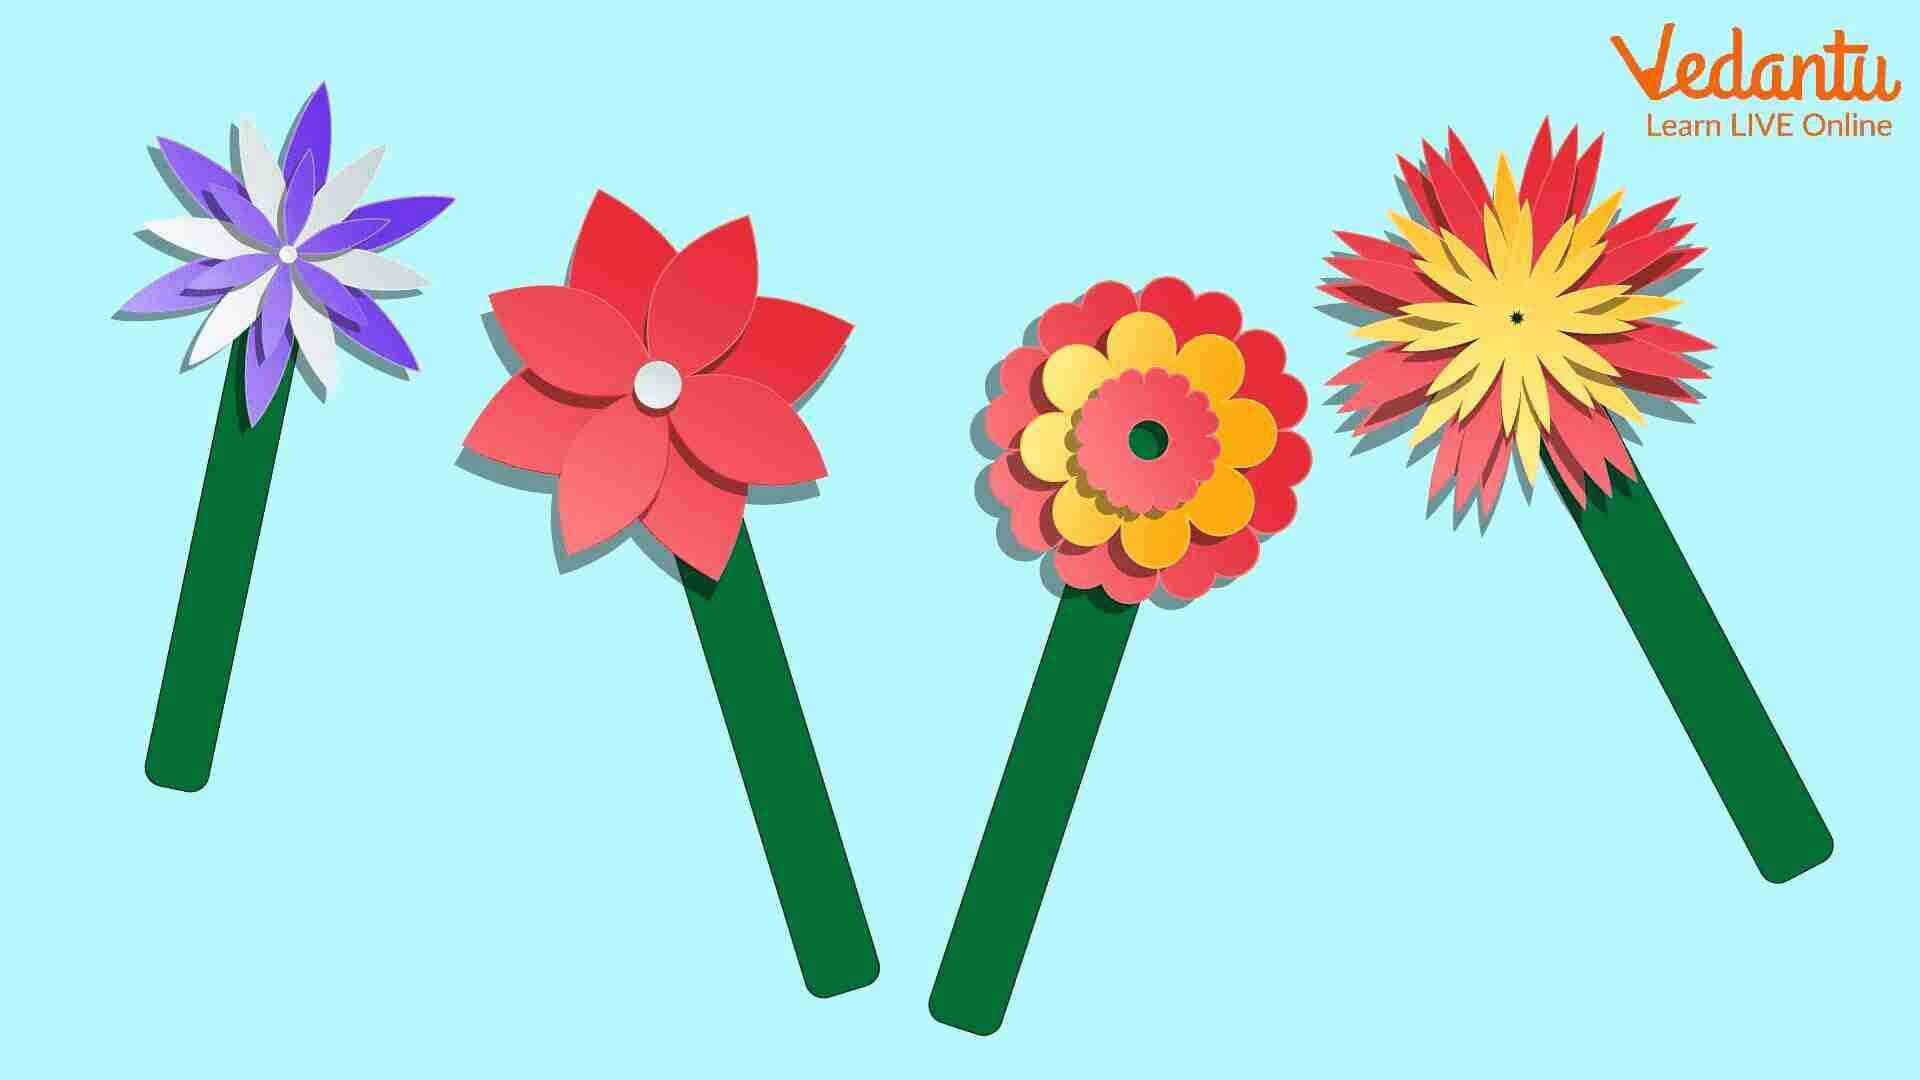
DIY bookmarks
Before making the DIY paper bookmarks, it is important to explore all possible ideas for making a bookmark. Here are our DIY bookmark ideas to help you choose your favourite one.
Snake Corner Bookmarks: It is a very easy DIY bookmark. Those with no problems with snakes can go for this bookmark. This origami corner bookmark is great for kids who have just started making animal crafts as this is very easy to make, and kids can make them fast.
Pig Corner Bookmarks: These are another DIY bookmark that looks cute and easy to make. It is a perfect gift for the kids on a children's day. Or you can teach them how to make a pig corner bookmark so they can make their bookmarks.
Crab Corner Bookmarks: Whenever someone tries to find an idea of how to make DIY bookmarks, one of the most common DIY bookmark ideas that come to mind is crab corner bookmarks. Learn how to make cute crab corner bookmarks using origami papers and give them to your siblings. These cute little bookmarks are enough to make people happy.
Butterfly Corner Bookmarks: You can also use colourful paper to make a beautiful butterfly corner bookmark and attach it to the edge of your book. When you start reading the book, you can put it on another page. Follow these DIY bookmark ideas and make your designer corner bookmarks.
A Step-by-step Guide to Make DIY Corner Bookmarks
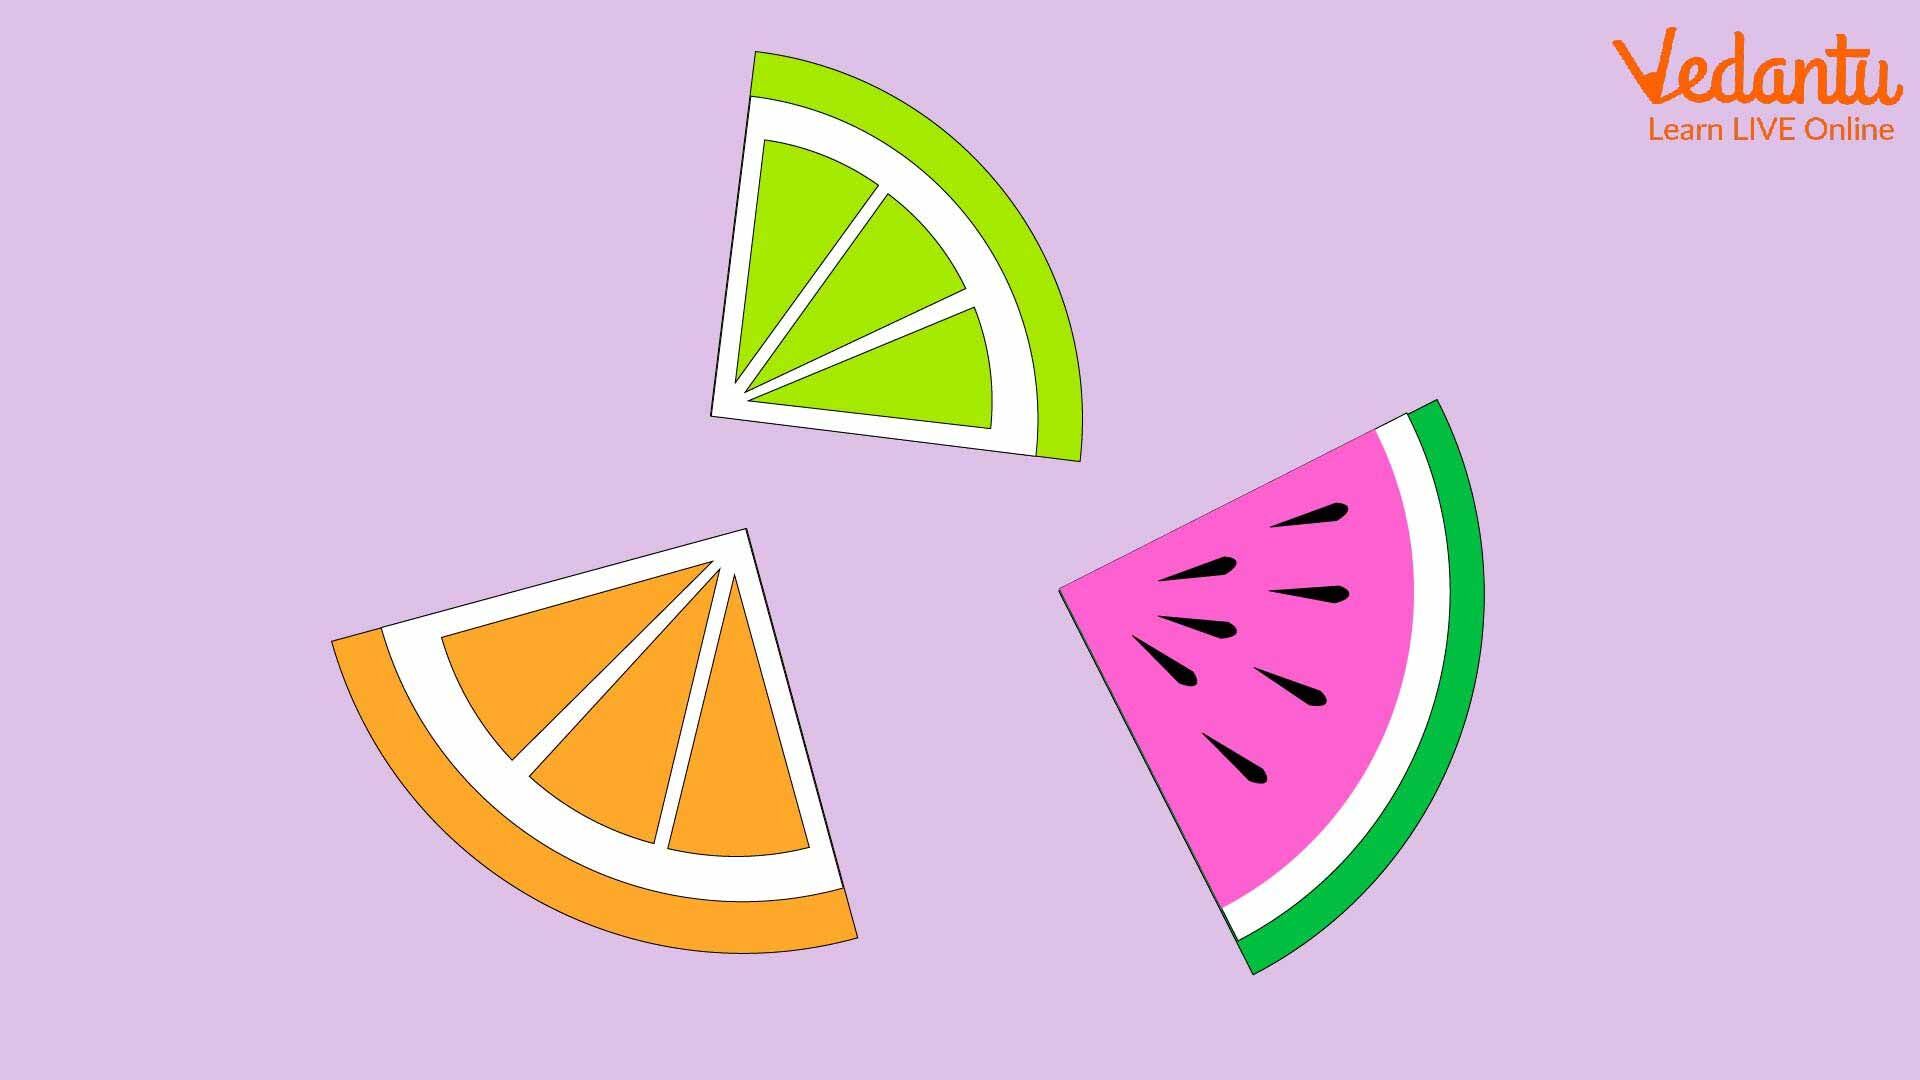
DIY bookmark ideas
Here we have mentioned three different ways to make DIY bookmarks. So, follow the step-by-step DIY bookmarks to choose which way you like the most.
Required Materials
A colourful square-shaped paper
Makers
Scissors
Method
To know how to make DIY corner bookmarks, you first need to cut a piece of paper in a square shape. Make sure the edges of every side are straight.
Now, take your square-shaped paper and fold one of the corners to give it a triangle shape.
If you do not find any excess, then it is okay. But if your paper still has a spare part, cut the excess part of the page.
Now, you need to rotate the triangle so the long edge comes to the bottom and the right angle faces the upper side.
Place the paper in such a way so the paper looks like a proper triangle, so the top of the triangle faces up.
Fold the lower corner of the right side so that it meets the top right corner.
Now, fold the lower corner of the left side, so it meets the top left corner.
Fold these two, so they get open again.
Flip down the top sheet and crease it.
Next, you must fold the flaps and tuck them into the bookmark.
You can see the other side is still open. Fold the flap here, too and push it into the bookmark.
Now, your origami corner bookmark is ready to use.
Steps to Make Duct Tape Corner Bookmark
Required Materials
Colourful papers
Scale
Pencil
Scissors
Transparent duct tape
Method
Take a sheet of paper and cut it into two soiree-shaped pieces. The two pieces should be 2 ½ by 2 ½ inches. Though you can use any paper you want, a sturdy sheet of paper or cardstock is better to make this kind of bookmark.
Now, take one of the squares and draw a diagonal line across it. Make sure to draw the line from the bottom left to the top right corner.
Take your scissor and cut the paper into two pieces following the line you have drawn with your pencil.
Cut off a square-shaped duct tape and place the square on top of it.
Now, you can see some excess part of the paper tucking out. Cut that excess part from every side. The square and the duct tape should be the same size, so you must make sure that you have placed the square in the middle of the duct tape.
Take the triangle you have cut off and place it on top of the duct tape. The triangle’s top edge must touch the edge of the duct tape. Do not forget to place the duct tape in the middle because the lower part is necessary for the next step.
If you place the triangle in the middle, you can find an excess part at the end of the duct tape. Fold that part over the triangle.
Now, place the other square on the triangle. All the edges must align to make it perfect.
Fold-down the upper flaps of the tape and give it a diamond shape.
Now, you can find an open space on your bookmark. Attach this side at the edge of your book’s pages. These are some step-by-step DIY corner bookmarks you can follow to make your bookmarks.
Conclusion
Whether we buy a book from a bookshop or online stores, we get bookmarks. But if you are good at making crafts, you might like to make your bookmark to mark the pages of your book. Plenty of ideas can help you make bookmarks, but you can create your idea too. You can make small and cute-looking bookmarks to give as a gift to your siblings.


